
Guide To Growing Your Microgreens
Microgreens are another name for any edible plant that is harvested and eaten at the seedling stage.
Singapore, with its humid and sunny weather, presents a perfect climate for growing microgreens year round. All you need is natural light with adequate moisture, and airflow to grow a whole range of wonderful flavours in just one week. The great thing about growing your own microgreens is being able to harvest them fresh, whenever you want to.
Here's a step-by-step guide to growing your microgreens. You can also watch a video I made on this here and here.
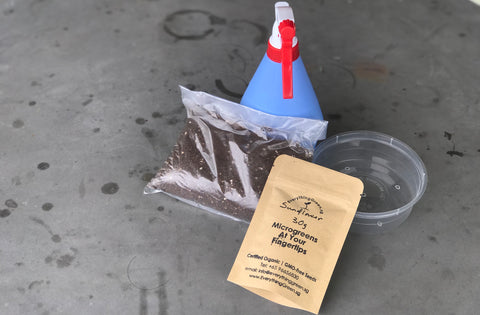
Materials Required (Our Starter Kit has all the necessary materials to get you going)
- Flat shallow tray/container (Recycle your takeaway ones. Create holes at the base for drainage)
- Good soil-less, peat-based Potting Mix
- Microgreen seeds of your choice
- Water spray container
Step 1
If you are sowing large seeds like coriander, peas, wheatgrass or sunflower, you should soak them overnight (this will soften the outer coating of the seeds).
Fill your tray to the top with the potting mix and spray your potting mix with a good amount of water so it is moist all the way through.
Step 2
Spread your seeds evenly and thinly across the potting mix. For tiny seeds like Amaranth, Basil, Broccoli, or Mustard, you might want to use a recycled herb bottle as a seed sprinkler (this helps spread the seeds evenly).
Spray the seeds with water to keep them moist and from being dislodged.
Step 3
To allow germination, it is important that your microgreen seeds go through the 'blackout' period. Cover your tray from light by placing it in a box or covering it until germination occurs. Depending on the seeds, germination could take anything from 2-5 days. Please refer to our seed page for germination times for the seed you are sowing. For our climate, and especially on hot and humid days, germination for most seeds takes between 2-5 days.
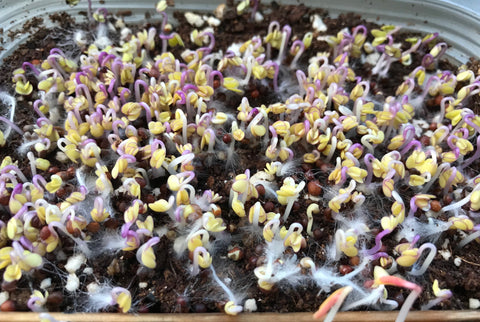
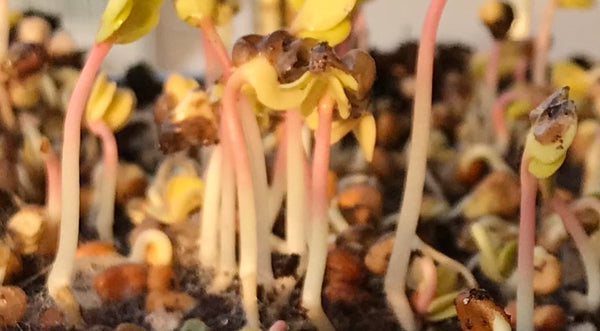
These Purple Kohlrabi seeds took 3 days to germinate. The 'hairs' you see are root hairs and not mould. The root hairs will disappear once they are exposed to natural light.
Step 4
Once your seeds have germinated, place them in an area with good natural light (direct sunlight should be capped to between 2-3 hours a day). Spray your microgreens once or twice a day, ensuring that your potting mix remains moist at all times.
Harvest times depends on the type of microgreens you are growing. To harvest, simply use a pair of scissors and snip above the soil.
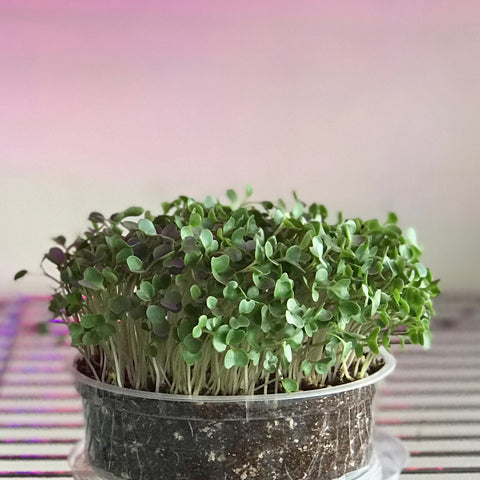
This tray of microgreens is ready to be harvested.